4.0 Manage Existing Events Last updated: October 29, 2021
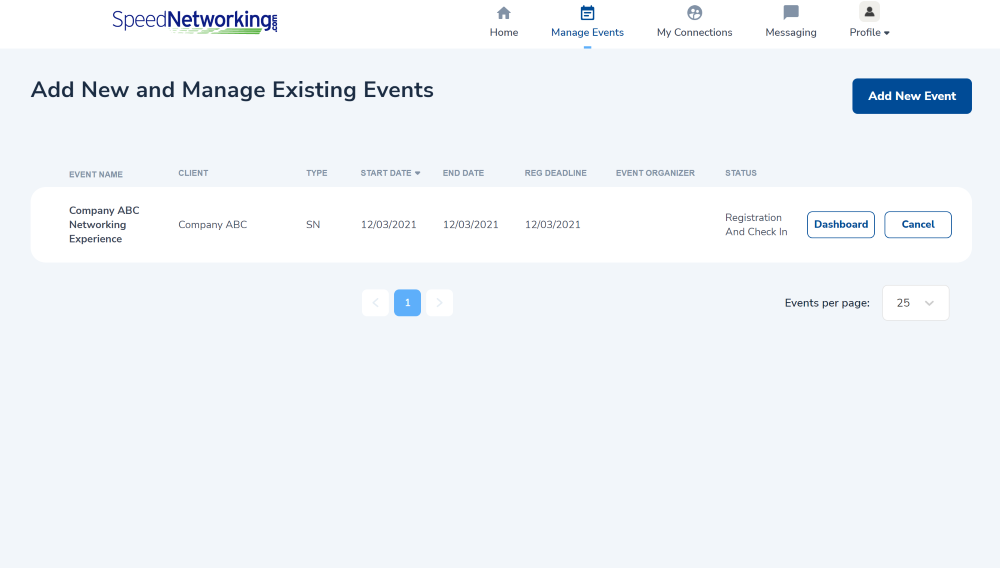
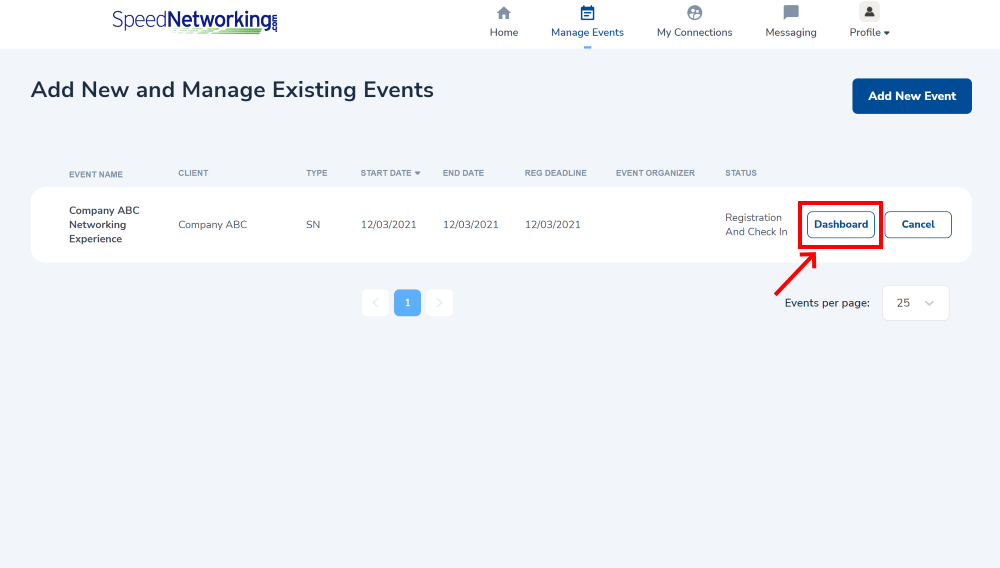
Once you have created one or more events, the Manage Events page will display the events in a list with options to view the event Dashboard or Cancel the event.
4.1 Event Dashboard
Once an event is created, you can visit the Event Dashboard to view, modify, and run the event. You can also visit the dashboard once the event has completed to review the event reporting and feedback.
The event dashboard page shows the details of your event at the top.
Next to the event details are two buttons.
- View - Selecting this button allows you to View and Edit the event setup information. See Chapter 2 for more information on modifying a Peer-To-Peer event, and Chapter 3 for more information on modifying a Divider event.
- Cancel - Selecting this button allows you to cancel the event. See Cancel An Event for more information.
The event dashboard page also shows several tabs beneath the event details.
- Reporting - The Reporting tab allows you to see a variety of metrics, statistics and information about the event before, during and after.
- Participants - The Participants tab allows you to view metrics on your participants and perform certain actions such as Register, Check-In and Delete on their behalf.
- Advance Matching - The Advanced Matching tab allows you to force and prevent participant matches.
- Communication - The Communication tab allows you to send email and text messages to some or all of your participants through the SpeedNetworking.com portal.
- Import Users - The Import Users tab allows you to download and upload a list of partipants for the upcoming event.
- Lobby Room - The Lobby Room will be used before and after the event to send announcments, play a lobby room video or broadcast live during the meeting lobby portion of the event.
4.2 Reporting Dashboard
The Reporting tab on the event Dashboard allows you to watch statistics and guage feedback before and during the event. These actionable insights may impact how you wish to tweak participant matches for the current or future events.
Quality of Match Percentage
The top section of the reporting dashboard displays the quality of participant matches based upon the results of our Smart Score algorithms.
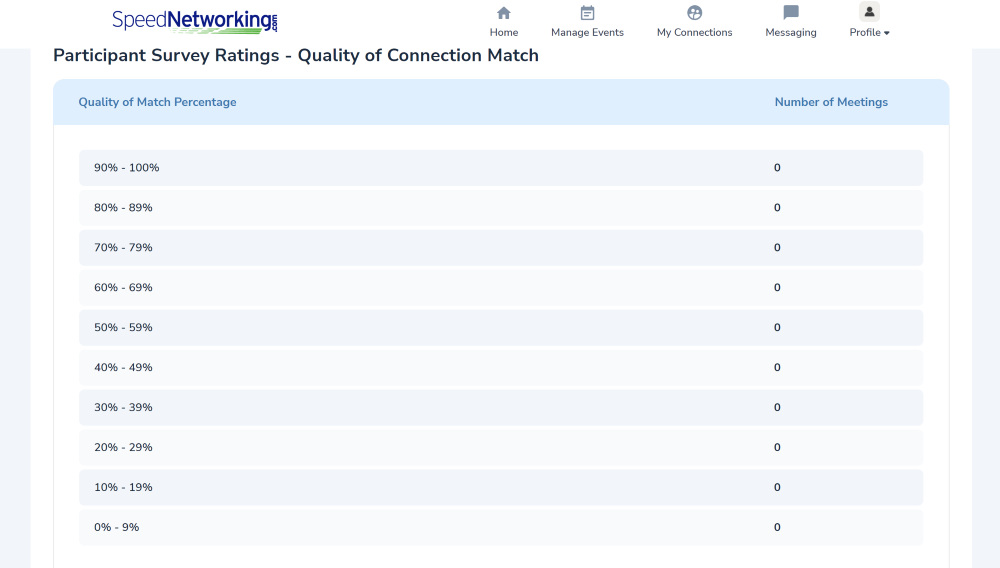
A 90% - 100% match indicates that both participants were destined to meet, whereas a 0% - 9% match indicates that the two participants probably should not meet. The range of percentages are based upon a number of factors, and the more specific you are when defining the number of Categories and Category Values in the event registration has a direct impact on the effectiveness of the matching algorthms.
Other factors such as whether participants are guaranteed a certain number of meetings will play a part in this, as a participant that is not a great match for many of the other participants will likely not score high on the match percentage.
In addition, when participants do not show up for the event, we do our best to re-pair any other available participant during a scheduled meeting if you choose to enable this option. Though this ensures that each participant will have a full meeting schedule, it also means that the matches may not always be in the 90% range.
With all of this in mind, we do everything programatically possible to ensure the highest quality of match percentages. The setup, configuration settings, and ultimately the people that are invited to and show up for the event are the biggest determinants.
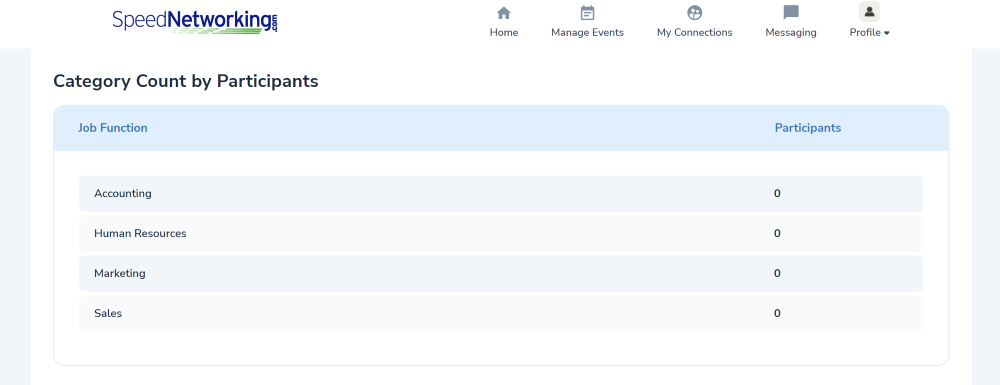
Category Count by Participants
The next section of the reporting dashboard displays the number of participants that have selected each of the Category Values presented during their registration. If you have multiple Categories, you will see each of them displayed here. This section will dynamically change as more participants register for the event, and will become static once registration closes.
Participant Survey Results
The final section of the reporting dashboard displays the results of participant feedback after each meeting. This is driven by the completion of the post-meeting survey, which you can optionally turn off when setting up the event.
Note
If you choose not to have post-meeting surveys, this section will not populate.
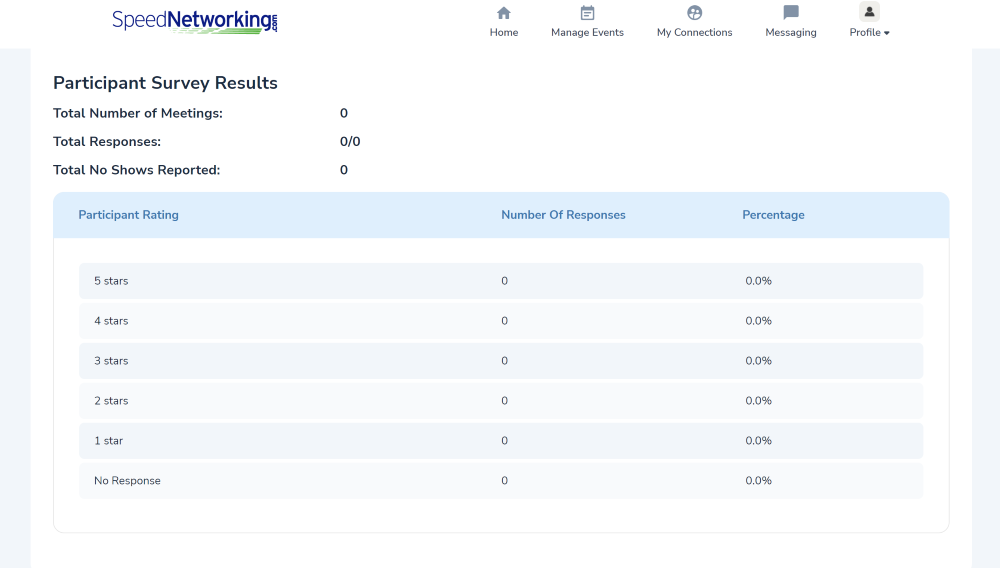
The survey results will continue to update throughout the event, and as the event organizer, you can monitor how effective the event is based upon the real-time feedback that participants are recording. The more 5 stars, the more valuable the event is to your participants.
You are also able to keep track of how many participants did and did not fill out the surveys, along with the total participants that did not show up for a meeting.
4.3 Participant Dashboard
The Participant tab on the event Dashboard allows you monitor real-time statistics on your event participants. This includes:
- Total Number of Participants - The total number of people that were invited to the event.
- Total Incompleted - The total number of people that did not complete their event registration.
- Total Imported - The total number of people invited to the event that were imported from a spreadsheet.
- Total Registered - The total number of people that registered for the event.
- Total Checked-In - The total number of people that registered AND checked in for the event. Participants that do not check in are not able to participate.
- Total Cancelled - The total number of people registered for the event but then cancelled their registration.
Note
The Total Checked-In number is considered to be the number of participants, and this is the number that determines to cost that will be charged for the event.
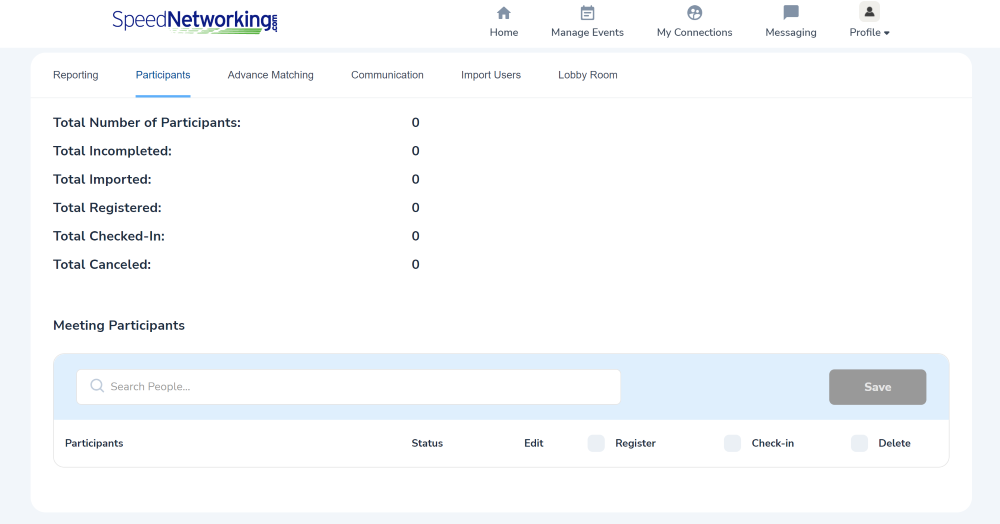
The bottom section of the Participant Dashboard allows you to search all people who were invited, registered and checked in to the event. This is very helpful before the event begins, as you can send reminders specifically to the people that have not registered reminding them to do so, or to people that have registered but have not yet checked in.
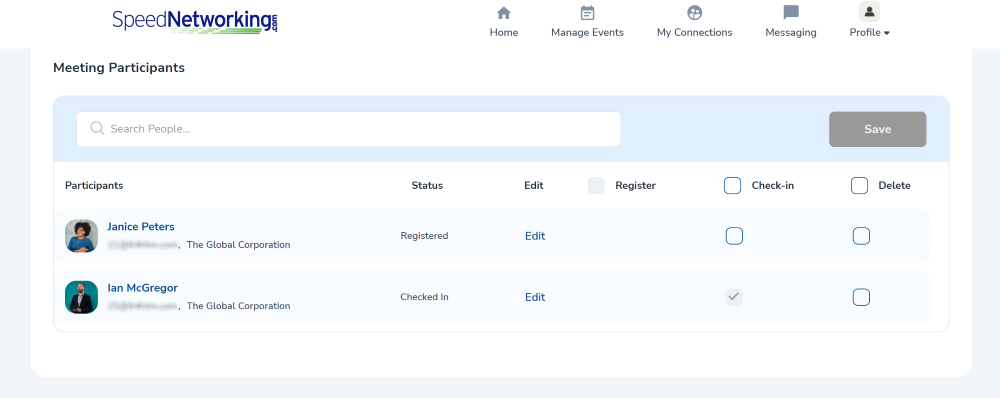
- Status - Indicates if the participant is invited, registered or checked in for the event.
- Register - If the participant is not yet registered, you can register for them by checking the box.
- Check-in - If the participant is registered but not checked in, you can check them in for them by checking the box.
- Delete - If for some reason you want to prevent someone from attending the event, you can check this box to delete them.
Note
We encourage you to prompt your participants to register and sign in rather than doing this step for them in order to get the most value out of the event. You can send them messages through the Communication tab on the Dashboard.
4.4 Advanced Matching Dashboard
The Advanced Matching tab on the event Dashboard allows you force matches between participants and prevent matches between participants.
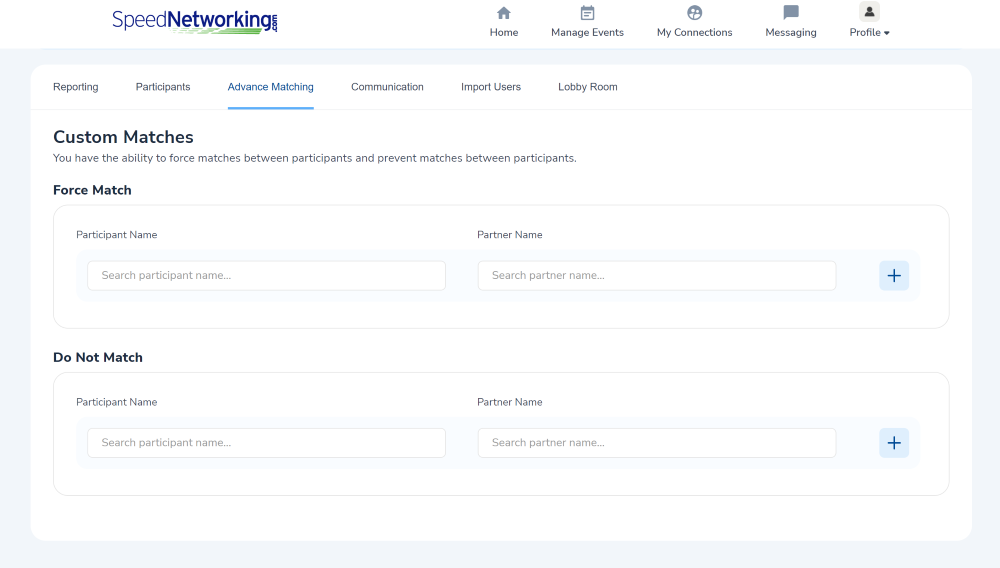
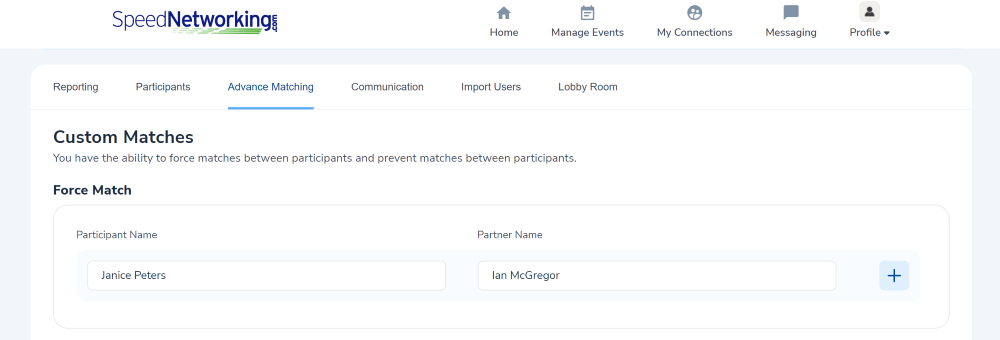
Force Match
As the event organizer, there may be ocassions where you want to ensure that two participants meet regardless of the outcome of the Smart Matching algorithms. For example, if you have sponsors of the event, you can allow your sponsors to choose specific participants to meet with. This is accomplished by selecting two participants who have registered for the event.
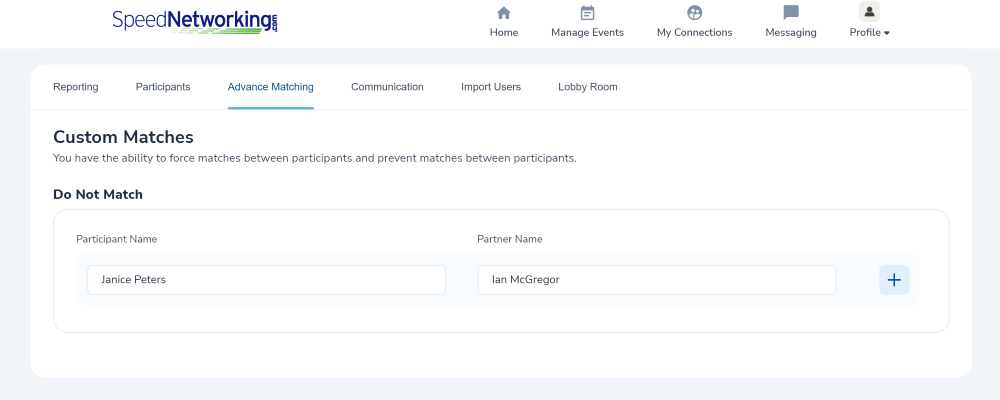
Do Not Match
As the event organizer, there may be ocassions where you do not want certain participants to meet regardless of the outcome of the Smart Matching algorithms. For example, if you have two sponsors of the event, you may not want them to meet with each other. This is accomplished by selecting two participants who have registered for the event.
4.5 Communication Dashboard
The Communcation tab on the event Dashboard allows you to send targeted messaging to some or all participants. If you would like to send an email to some or all of the event participants, you will start by selecting the checkbox to the right of each person.
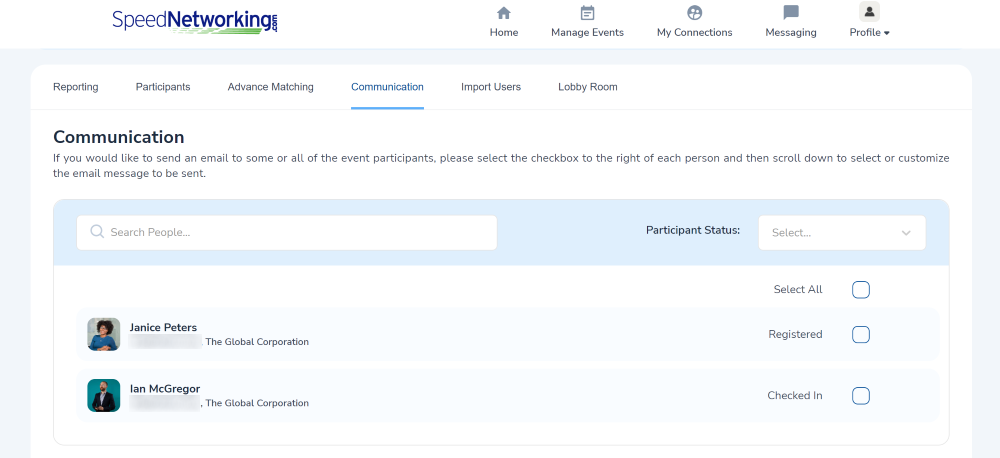
Note
You can search for participants by name or by participation status in order to filter the list that is displayed.
You will then and then scroll down to select or customize the email message to be sent. There are three types of email templates to chose from.

- Event Check-In Email - Selecting this option pre-populates the Subject and Email Body with a template message. You can change this message in any way that you wish before sending.
- Event Registration Confirmation Email - Selecting this option pre-populates the Subject and Email Body with a template message. You can change this message in any way that you wish before sending.
- One Off Email - Selecting this option gives you a blank Email Subject and Email Body, where you can write whatever messaging you wish to send.
Note
You can see a full list of variables that can be used within the emails in Section 2.6 Marketing & Communication.
4.6 Import and Export Users Dashboard
The Import Users tab on the event Dashboard allows you to invite additional participants to the event by importing their contact information from a spreadsheet. You can also export a full list of invitees.
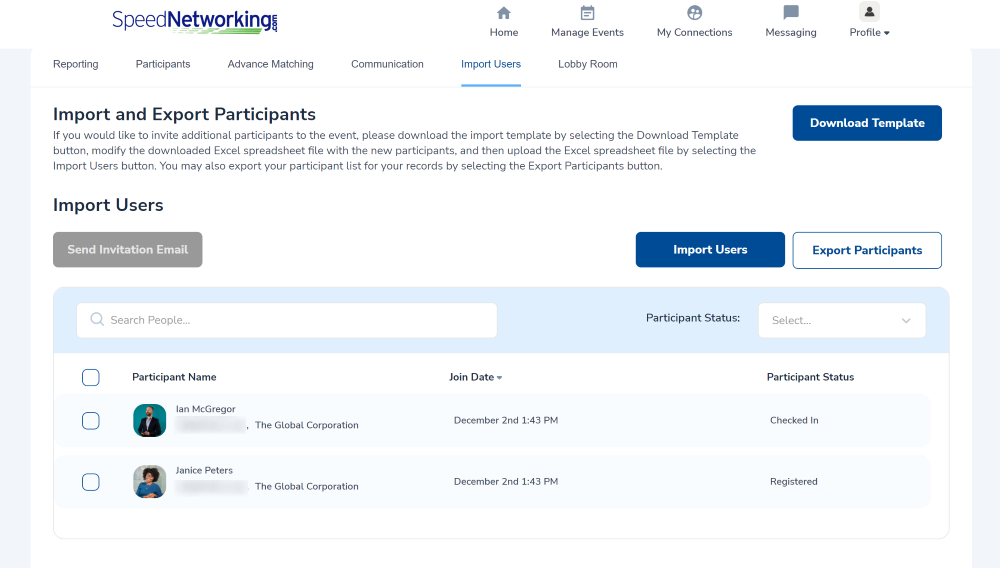
- Download the import template by selecting the Download Template button.
- Open the downloaded file in Microsoft Excel (or similar) and modify the information with the new participants you want to invite to the event.
- Upload the modified Excel spreadsheet file by selecting the Import Users button.
Note
The download template is custom to your event, as it contains information specific to your setup.
If you want to export your participant list, select the Export Participants button
4.7 Lobby Room Dashboard
The Lobby Room tab on the event Dashboard is the location you will visit during the actual event. The lobby room allows you to post any announcments before and during the event, live broadcast to your participants before the meetings begin, and customize any sponsor information related to the event.
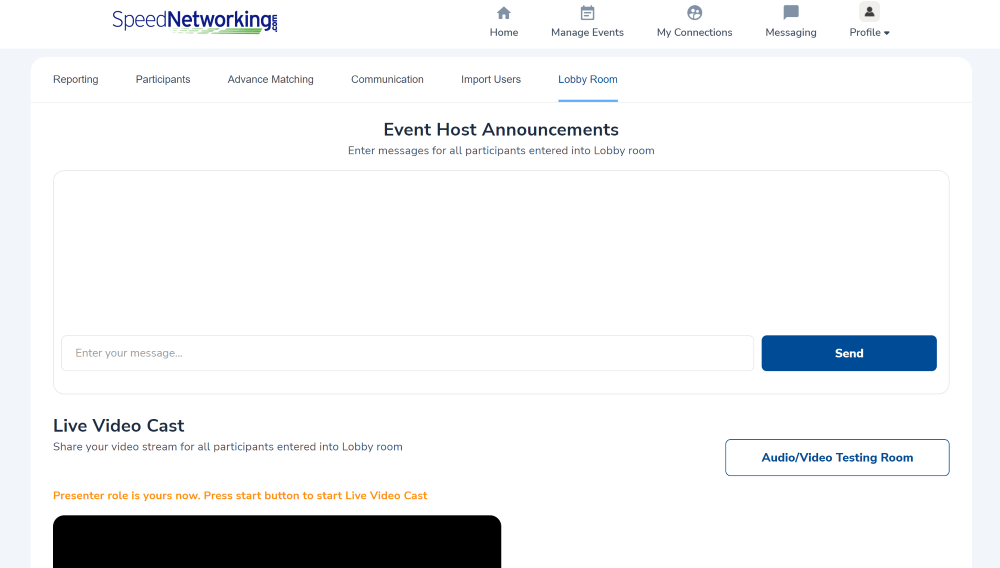
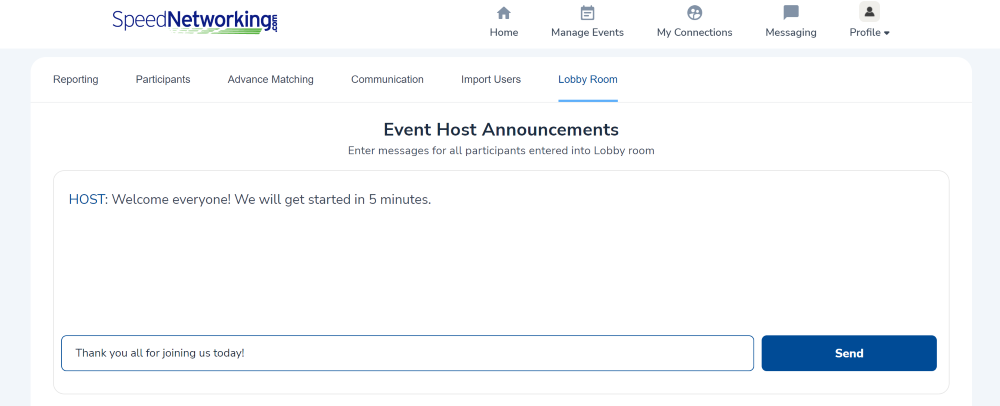
Event Host Announcements
As the event lobby is a one-way broadcast of information (live or video recording), you are not able to interact with participants. Rather, the format is a lecture-style. In addition to presenting audio / video content, you have the ability to post messages that appear on the participants' screens throughout the entire event in a variety of places.
In order to broadcast a message, simply type the message into the box and hit the Send button
Live Video Cast
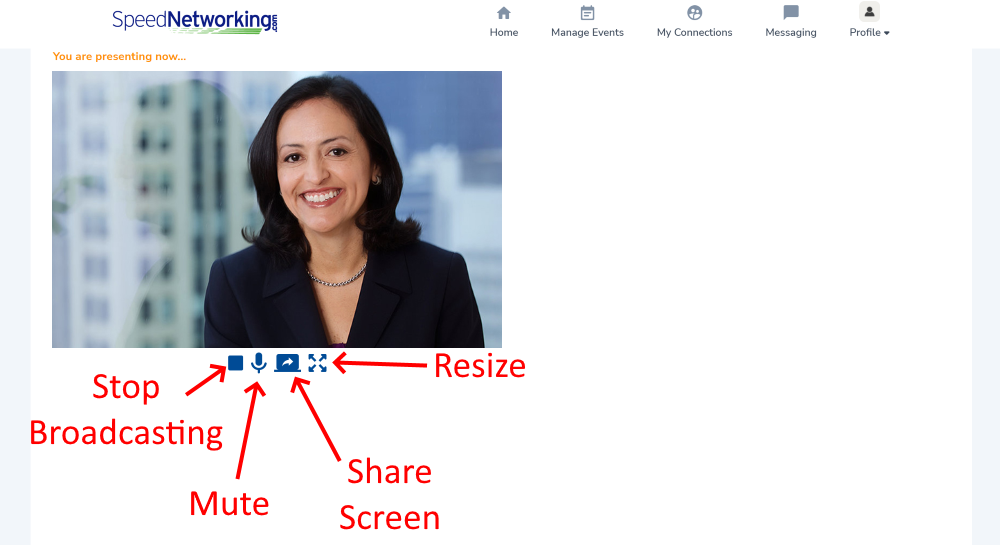
The live video cast section allows you to control when and if you want to have your camera and microphone enabled during the time the event lobby is open. Sharing your camera and microphone allows you to present in a lecture-style to the entire group of participants.
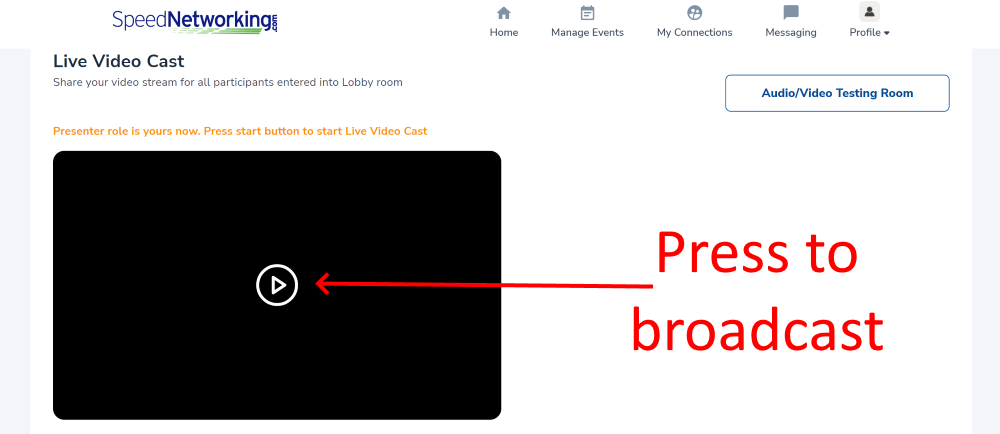
Once this feature is enabled, you will have the ability to stop sharing, mute your microphone, share your screen, and resize your screen to make it larger.
Note
If more than one person will be presenting, you may pass the presenter role to any other user by selecting the "Give a Word" button next to the person who will become the presenter. Any any time you can Take Back the presenter role with the click of a button.
URL of Sponsors’ Embedded Video
In addition to or in place of a live broadcast, you can choose to play a pre-recorded video to the participants. In order to do this, you should upload your video to YouTube or Vimeo and provide the URL in this provided space.

Note
This video will begin playing when the participants enter the meeting lobby, and will stop when / if the presenter starts a live broadcast.
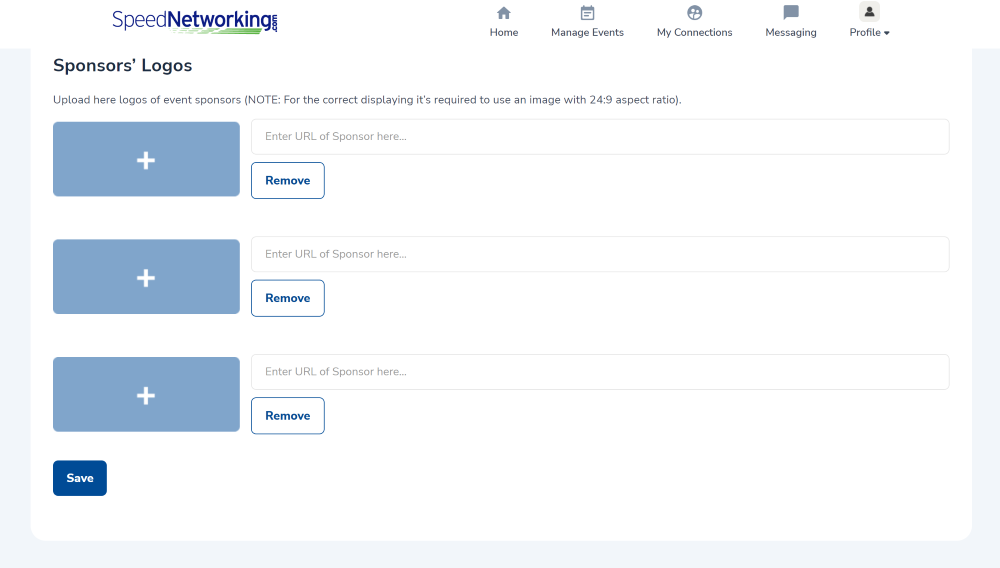
Sponsors' Logos
The meeting lobby can present logos of the event sponsors if applicable. If so, you can provide a logo and URL to the Sponsor's website in the space(s) provided.
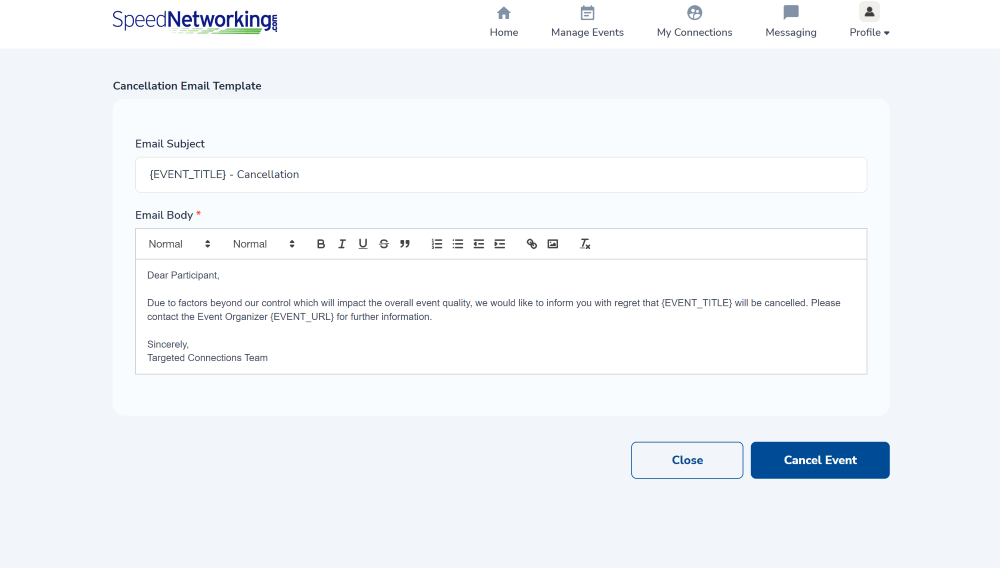
4.8 Cancel An Event
Unfortunately things come up and events need to be canceled or rescheduled. In the event that this happens for your event, you can select the Cancel button to the right of your event to cancel it.
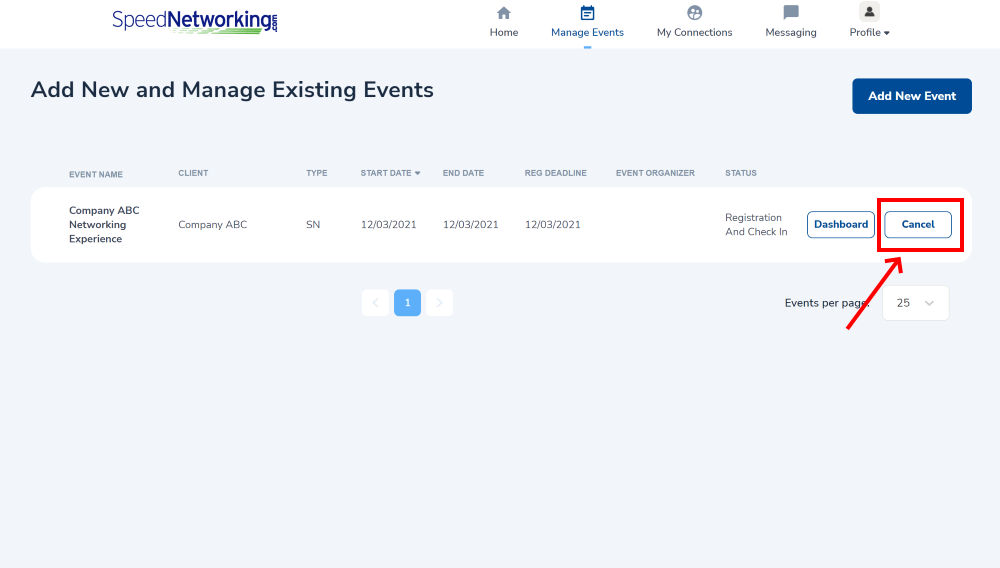
- Navigate to the Manage Events page.
- Select the Cancel button next to your event.
- Modify the cancellation email that will be sent out to your partipiants as you desire.
- Select Cancel Event to cancel the event and distribute the email above.
Note
You will have the option to avoid canceling the event on the following screen by selecting the Close button.